Looking for help?
Find answers to your questions
How to set up Yeewise solar camera system?
How to Set up Yeewise Solar Security Camera System?
1. Check Your Package Content
Take out all components from the package box.
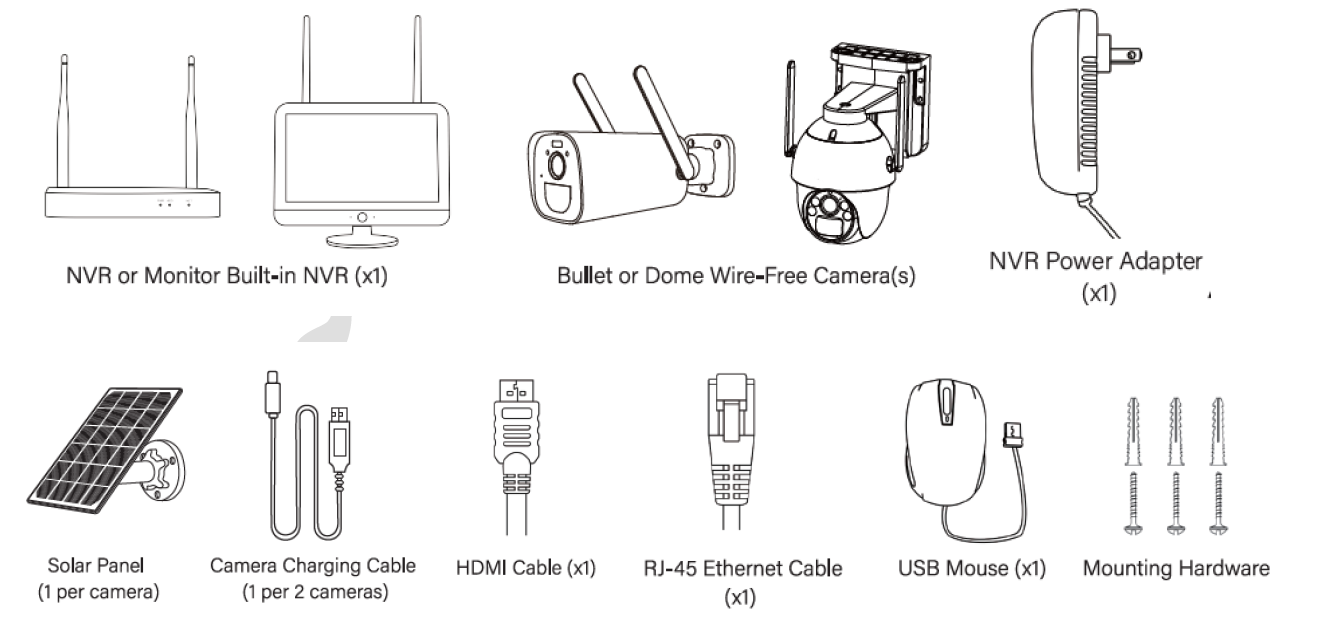
2. Before You Start
Before setup of the camera, we strongly recommend recharging the came ra overnight to make sure it has 100% power.
1. To charge your cameras, use 5V DC phone chargers(not included) and cables(included) to charge the cameras.
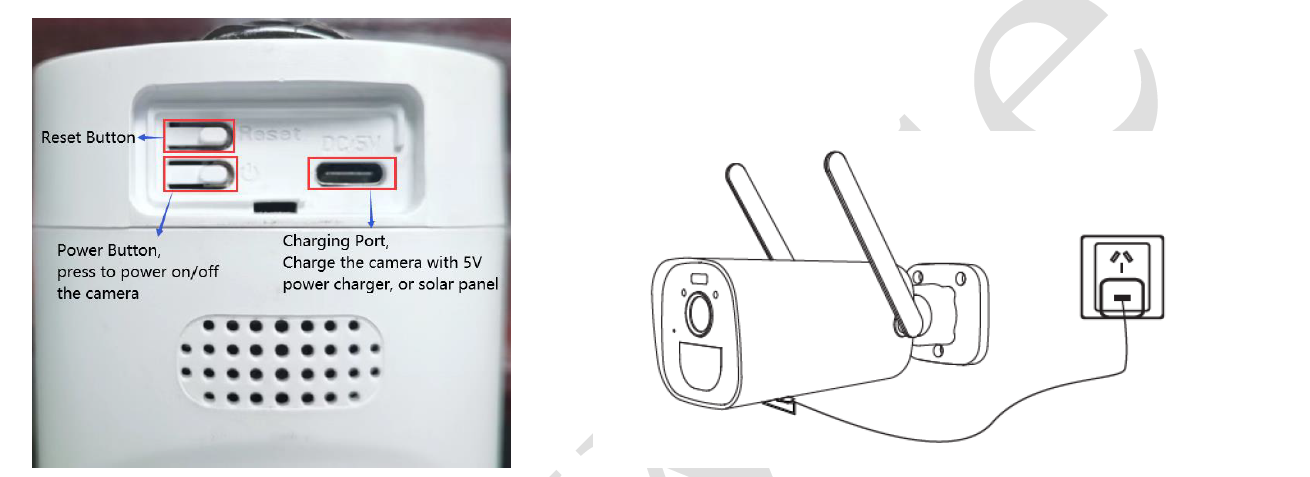
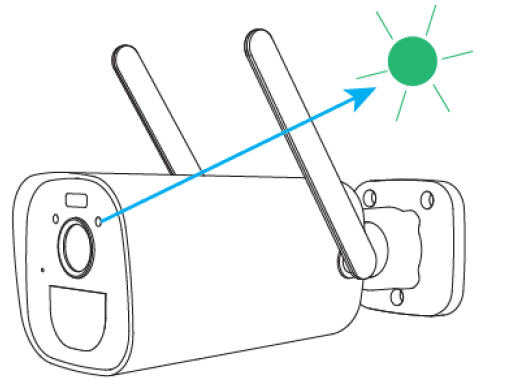
2. The indicator blinks in green while charging, indicator turns off when it s fully charged.
NOTE:
1. Please use only 5V DC power charger to recharge the camera . Charger do not meet the standard may damage the batteries.
2. Please charge the battery at room temperat ure to a void damage.
3. Connecting Your System
1. Connect the NVR to a PC monitor or TV with included HDMI cable.
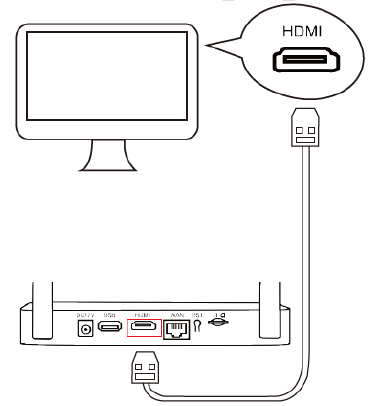

2. Plug the NVR to power using included 12V 2A power adapter. Connect the mouse to monitor's USB port.
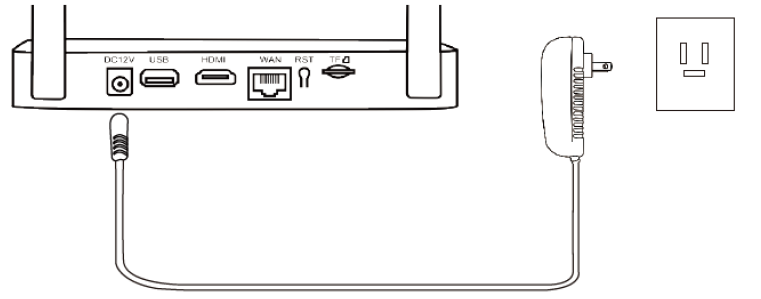
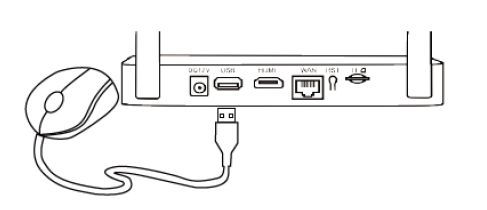
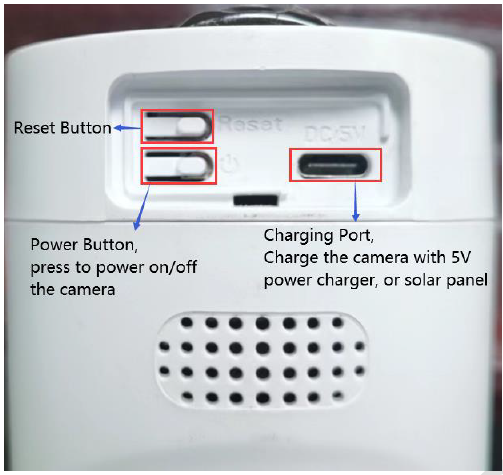
3. Press the power button to turn on the camera.
4. You should see NVR initialize. After initialization, you will be prompted to use the Startup Wizard.
Follow the Startup Wizard to complete the basic settings.
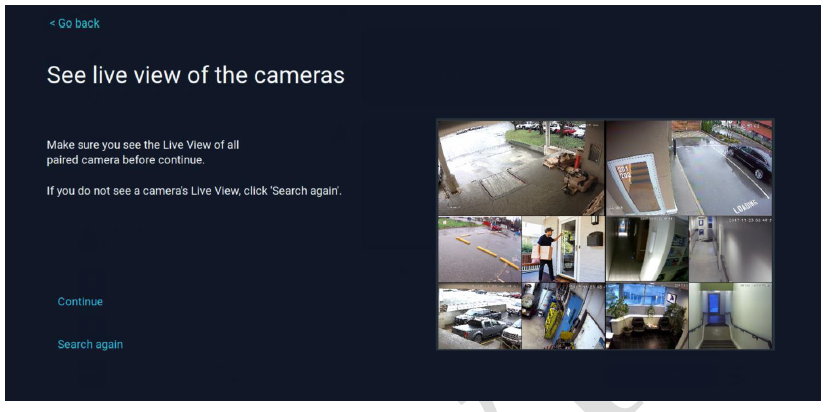
5. You'll then see cameras dispaly video on the monitor. You may now proceed to install cameras in your desired location.
NOTE: To verify whether cameras are working, please ensure they appear on your TV/monitor before mounting them.
4. Connect your system to the internet
The system works without internet, you can live view, record, playback and backup videos on the mointor without connecting your system to the internet.
But if you want to remote access your cameras from smart devices, you need to connect the NVR/monitor to the internet.
There are two ways to connect the NVR/monitor to the internet.
2.1. Hardwire NVR to router with network cable:
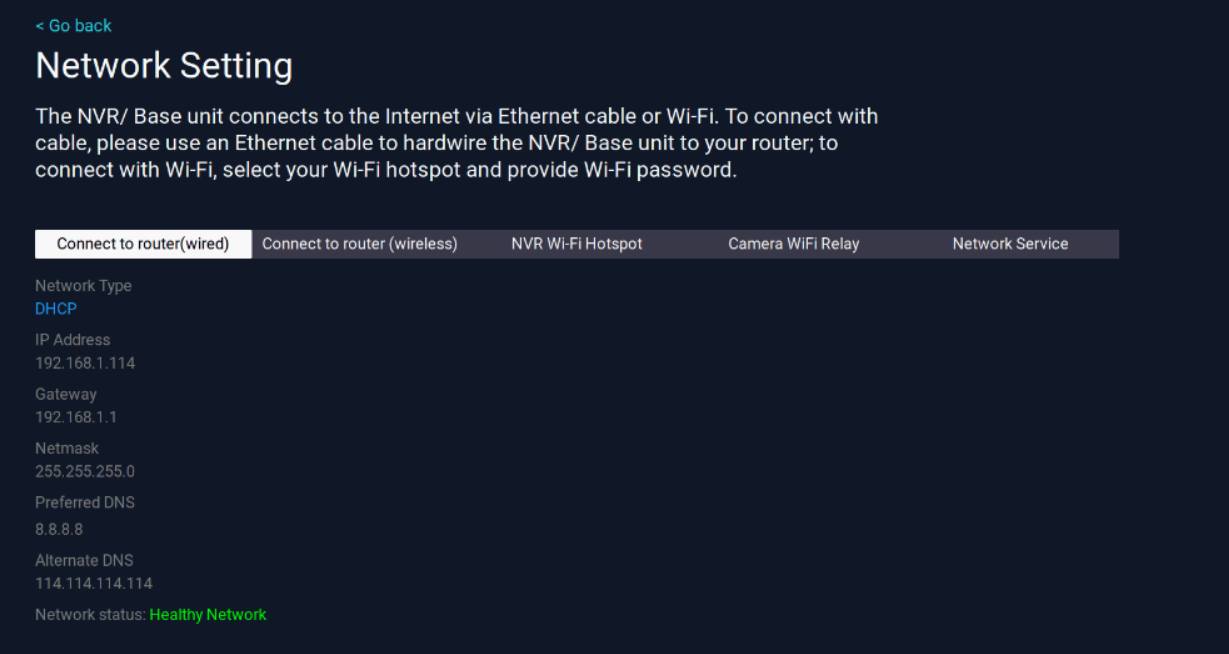
Each package comes with a network cable, please connect one end of the network cable to your NVR's Ethernet port, and the other end to your router's LAN port. Your NVR is then connected to the internet and will be ONLINE for remote access soon.
Your can check your NVR's network status here: System setting - Network setting - Connect to router (wired)
Healthy Network means that your NVR is connected to the internet successfully.
2.2. Connect NVR to your WiFi:
Yeewise NVR also supports connecting to the internet via Wi-Fi. This gives you flexibility of where to place or hide the NVR.
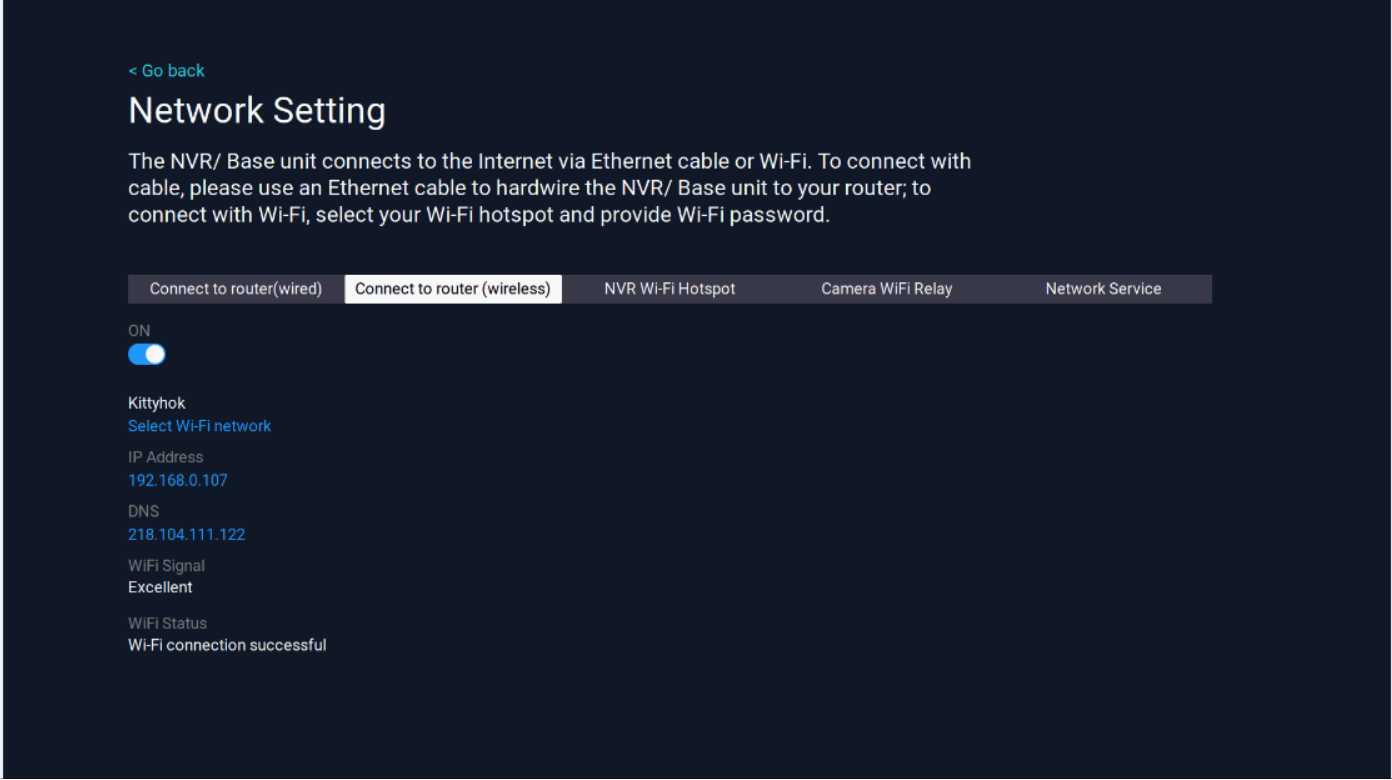
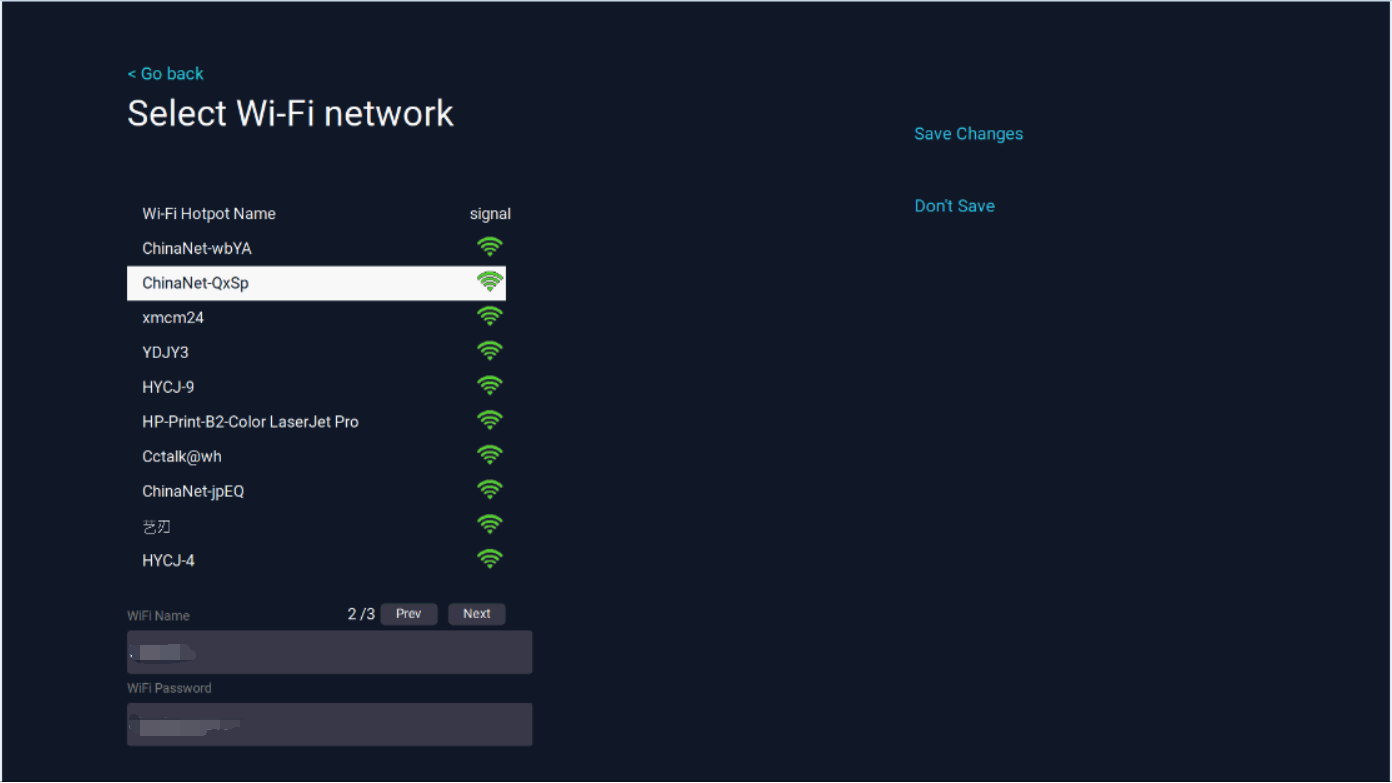
Right click your mouse to pop out NVR main menu, then click System setting - Network setting - Connect to router (wireless), Click Select Wi-Fi network, choose your WiFi network and enter the WiFi password, click Save Changes. It will show Wi-Fi connection successful if your NVR is connected to WiFi successfully.
PS: Our NVR only supports 2.4G WiFi, so please choose 2.4G WiFi when you select your WiFi network.
3. View your cameras on phone
3.1. Download and install WallPixel App
Download the free WallPixel mobile app from App Store or Google Play Store and install the application on your phone or tablet.

3.2. Creating an Account
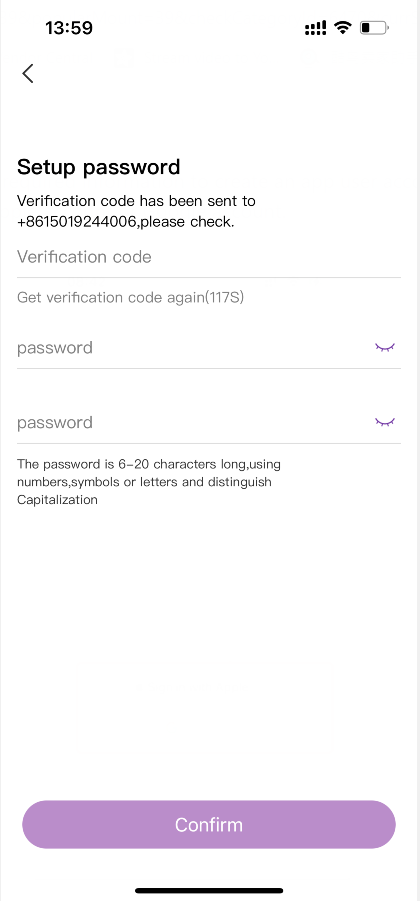
Tap the app, click "Register", enter the required information to create an app user account.
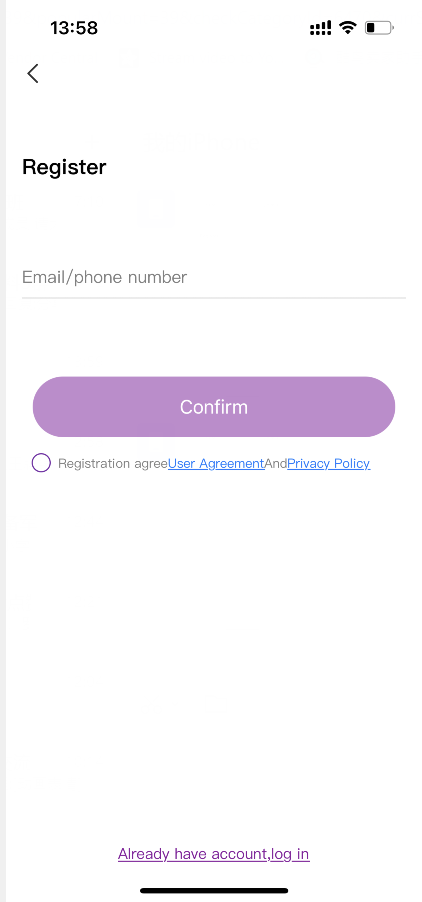
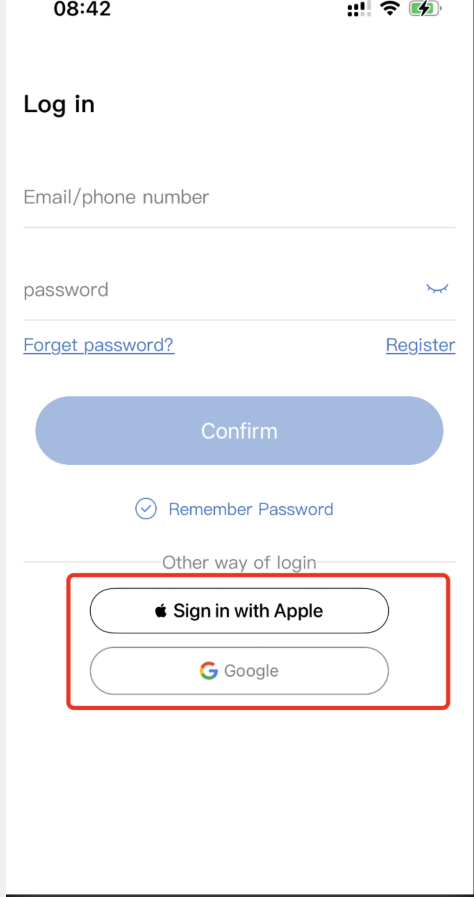
You can also login directly with your Apple account or Google account.
3.3. Adding Your Device(System) to the App
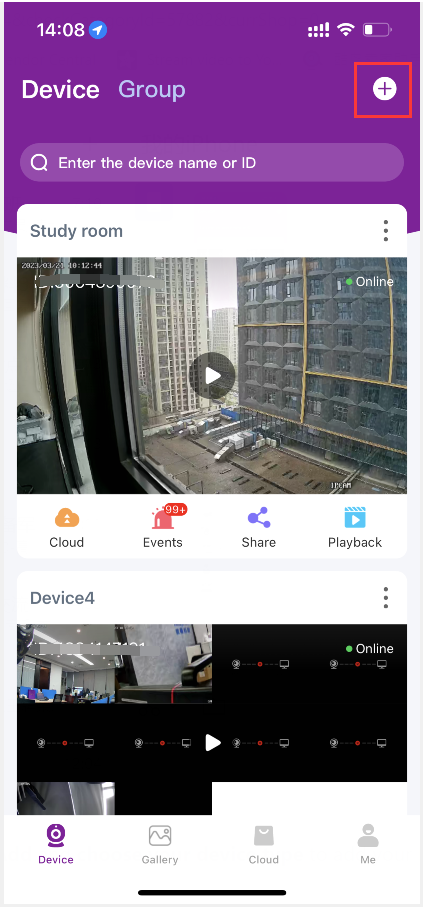
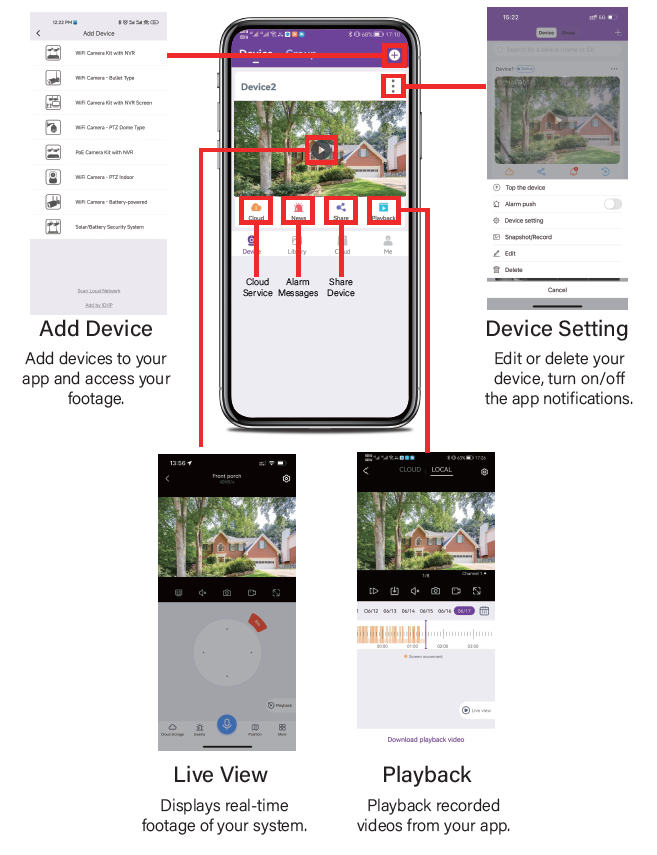
Tap “+” on top right corner, then tap Add and choose your device type to add your NVR device to the app.
Device Information:
Cloud ID: This is your system's Device ID, which can be found at the right bottom of your monitor. It is 9 digits. (NVR Device ID can also be found at NVR's System setting - Network setting)
Username: Your NVR login username, default is admin.
Password: Your NVR login password, default is empty, means no password, leave it blank. If you’ve set a new password for your NVR, make sure to type in the new password here.
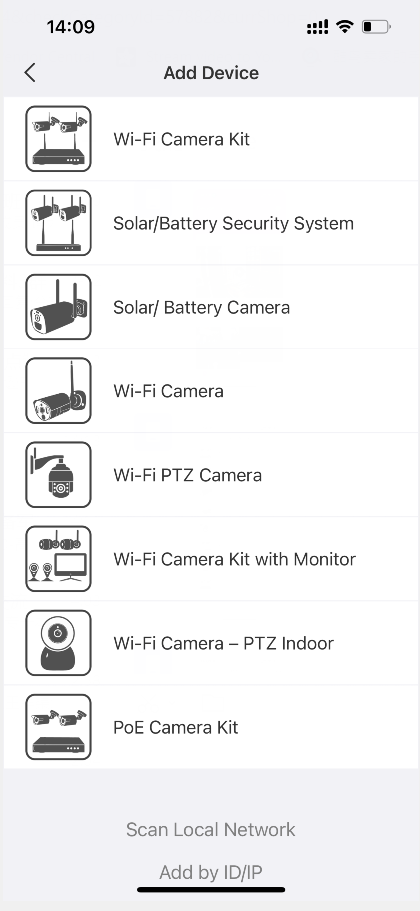
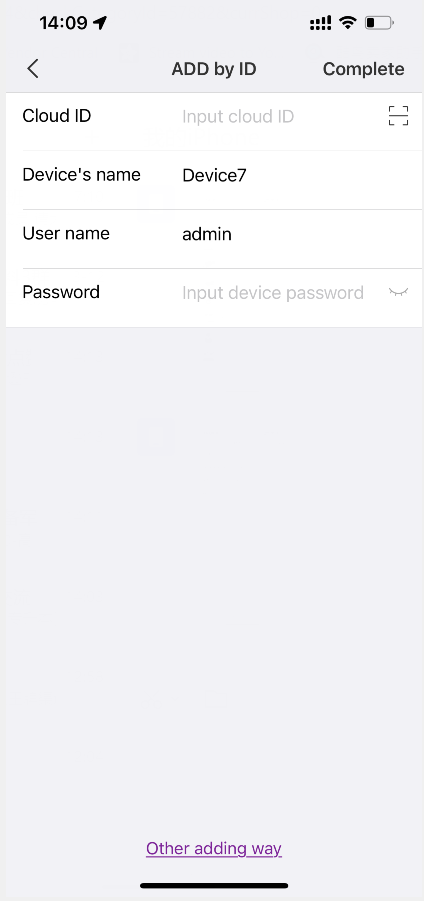
When you complete entering device information, click Complete on top right. Your device is now added to the app and you can live view your cameras.
Scroll To TopScroll To Top


